Aipas C2 Assembly (2025)
Aipas C2 Assembly (2025)

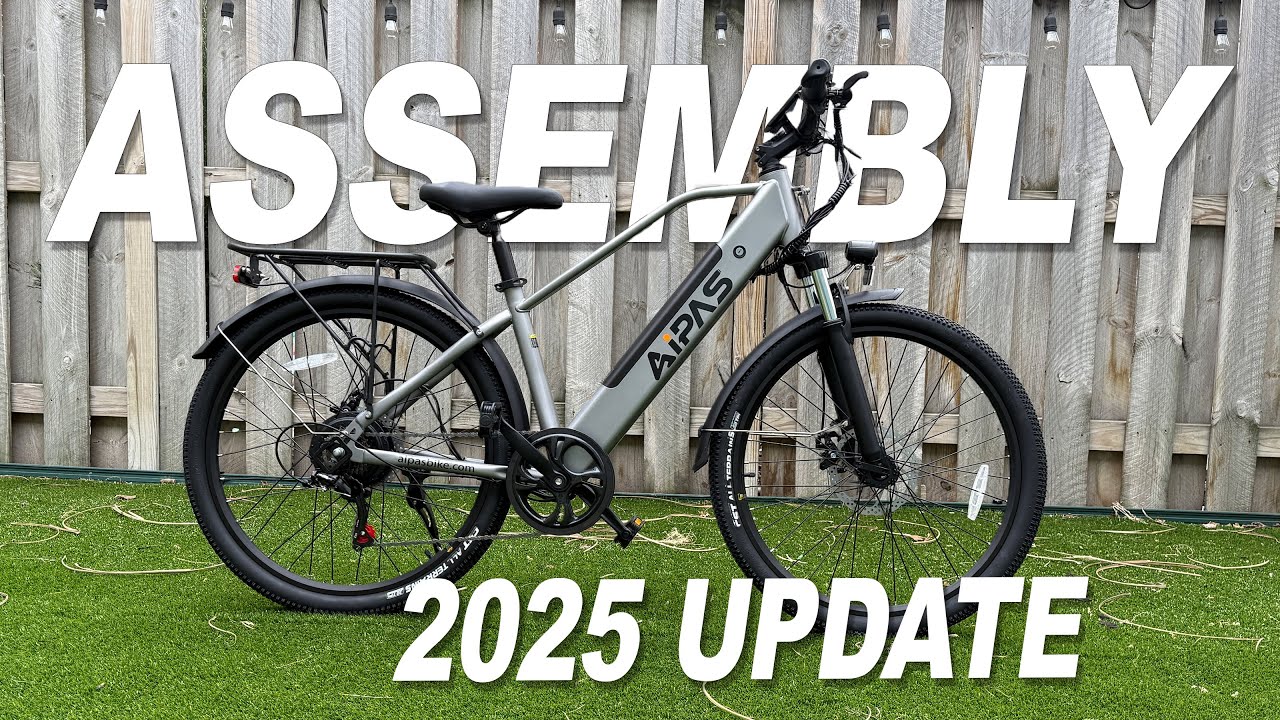
Follow along as I unbox and assemble the Aipas C2 (2025) Express ebike.
The AIPAS C2 combines modern design with functionality and user-oriented features. Designed for both ease of use and a great riding experience, this bike is perfect for commuting, leisure rides, or even off-road adventures thanks to its sturdy build and electric assist capabilities.
Unboxing the Bike
Packing Material
When you receive your AIPAS C2, it’s carefully packed to prevent damage during shipment. Upon opening the box, you’ll find ample packing material designed to keep the bike secure.
Access Options
To remove the bike from the box, you have several options:
- Direct Lift: While this may be a tight fit, it’s straightforward.
- Cut and Slide: An alternative is to cut the flaps at both ends and slide the bike out, providing easier access.
Tools and Accessories
Inside the box, you’ll also find a tool kit that includes:
- Allen wrench
- Wrenches
- Screwdriver
- Additional zip ties
- Owner’s manual
Familiarizing yourself with these tools will make the assembly process smoother.
Assembling the AIPAS C2
Battery Installation
To get started, first remove the battery. This makes the bike lighter and allows you to charge it:
- Locate the blue zip tie securing the battery.
- Carefully snip it and remove the battery.
- Connect the battery to the charger — the red light indicates charging; it turns green when fully charged.
Seat Post and Handlebars
Next, assemble the seat and handlebars:
- Insert the seat post into the frame using the quick-release mechanism. Adjust the height as necessary.
- Adjust the handlebars by loosening the screws. Ensure they’re facing forward and tighten them firmly.
Front Wheel
Installing the front wheel involves a few detailed steps:
- Placement: Align the front wheel so that it fits into the fork slots.
- Securing: Use the quick release lever to secure the wheel, ensuring it’s tight.
Brake Adjustment
Once the front wheel is on, check to see if the brakes are functioning correctly.
- Spin the wheel and see if it rubs against the brake pads.
- Adjust the calipers if necessary by loosening the bolts, repositioning, and tightening them back.
Front Fender and Headlight
Connecting the front fender and headlight:
- Remove existing bolts to attach the fender.
- Ensure the headlight is directly in front and secure it using the correct bolts.
Rear Fender and Tail Light
Now it’s time to install the rear fender:
- Attach the fender to the appropriate bolts, ensuring it aligns well above the rear tire.
- Connect the wiring for the tail light to ensure it functions as intended.
Pedals and Tires
Finish the assembly by installing pedals and inflating tires:
- The right pedal screws in clockwise, while the left pedal turns counterclockwise. Use a wrench for a secure fit.
- Inflate the tires to the recommended PSI range, typically between 40 and 65 PSI.
Final Setup and Clean-Up
Ensure all bolts are tightened and the bike is assembled securely. Next, remove any protective films or labels for a neat appearance.
Testing Your Electric Bike
Before hitting the road, perform a safety check:
- Ensure the battery is charged and correctly inserted.
- Test the brakes, gears, and lights.
Assembling your AIPAS C2 electric bike can be a rewarding project, allowing you to become familiar with its components and features. With patience and the right tools, you’re now ready to enjoy a smooth ride. Thank you for following this guide, and happy cycling!