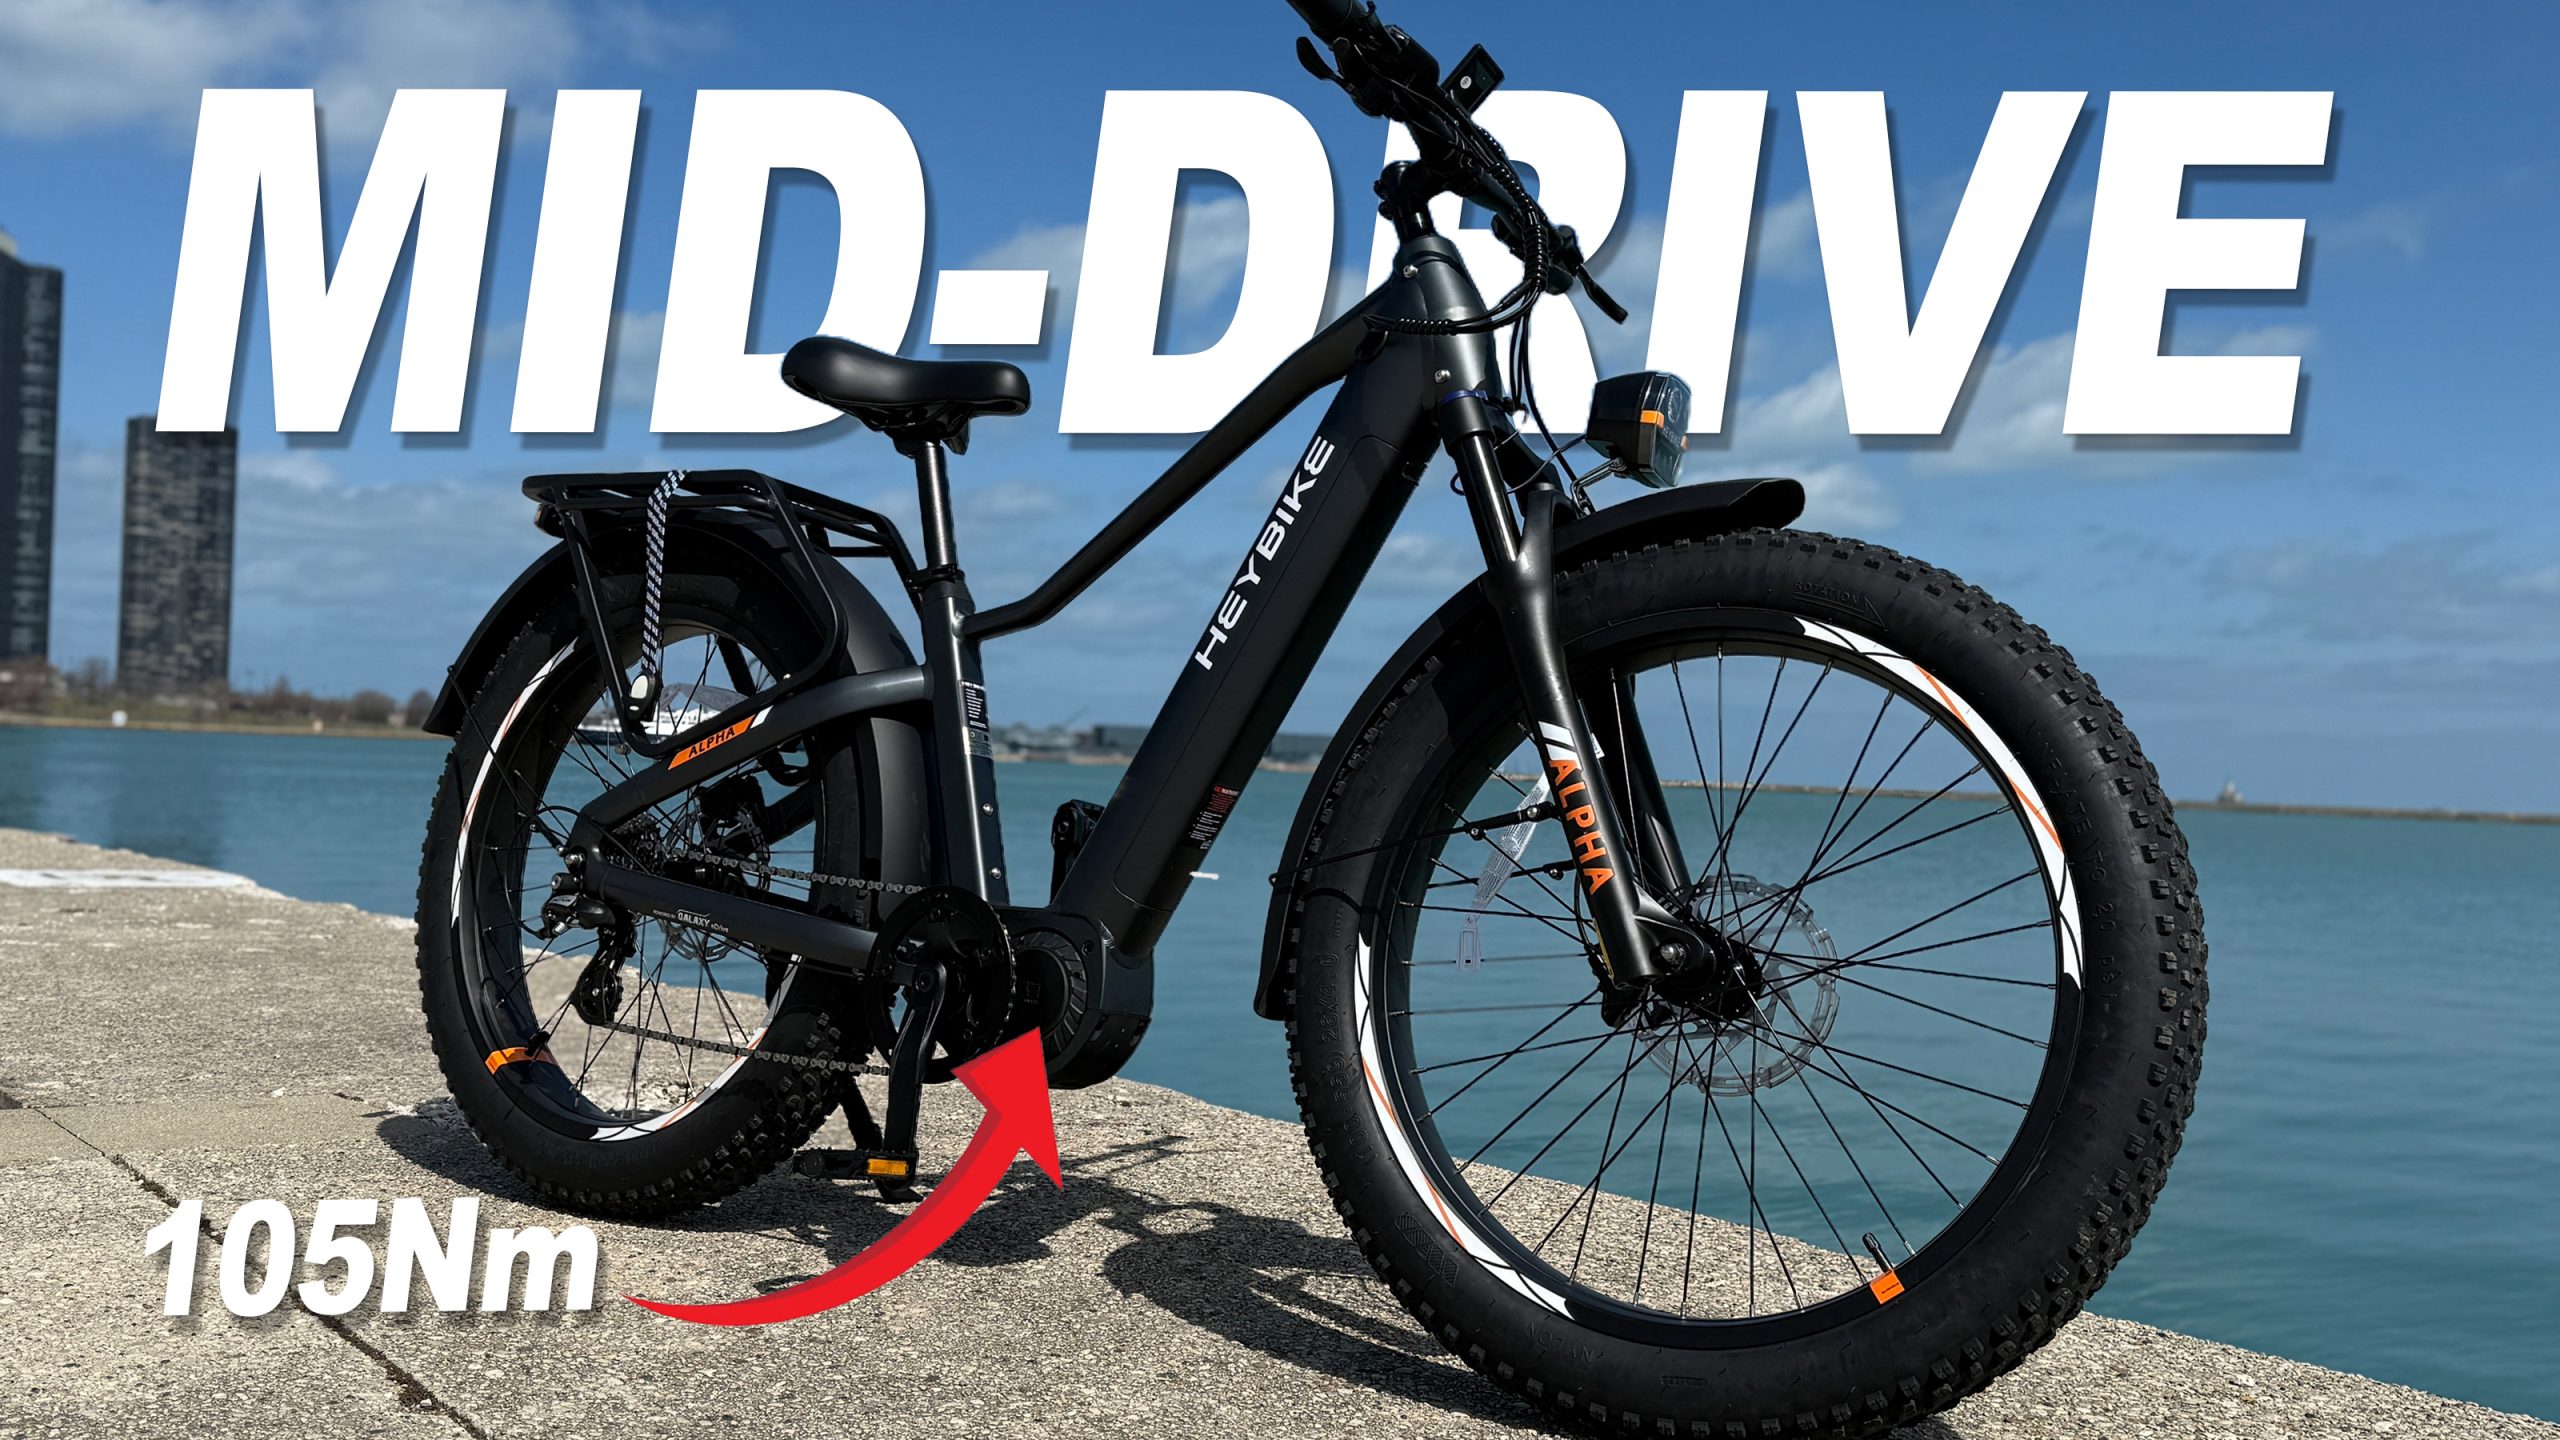
Aipas A4 Assembly
Aipas A4 Assembly
This video will show you how to assemble your Asipas A4.
Summary
The video guides viewers through the unboxing and assembly of the Aipas A4 bike, detailing each step for easy setup.
Highlights
📦 Unboxing: Remove staples and unpack the bike components.
🛠️ Assembly Tools: All necessary tools for assembly are included.
🚴♂️ Handlebar Setup: Insert handlebars into the stem securely.
🪑 Seat Installation: Quick-release clamp makes seat adjustment easy.
🛞 Front Wheel Attachment: Detailed steps for attaching the front wheel.
🔧 Brake Adjustment: Ensuring the brakes function without rubbing.
🎉 Final Touches: Peel off decals and inflate tires for a clean finish.
Key Insights
📦 Packaging Quality: The Aipas A4 is well-packed, ensuring components are protected during shipping. This reflects the brand’s commitment to delivering a quality product.
🛠️ User-Friendly Assembly: The inclusion of all necessary tools simplifies the assembly process, making it accessible even for beginners.
🚴♂️ Adjustable Components: Features like the quick-release seat clamp enhance user convenience, allowing for quick height adjustments without tools.
🛞 Safety Focus: The emphasis on proper wheel and brake installation underlines the importance of safety in bike assembly.
🔧 Maintenance Awareness: The guide encourages users to check and adjust brakes, promoting ongoing bike maintenance for optimal performance.
🎉 Satisfaction in Assembly: The satisfaction of removing decals and ensuring bike readiness contributes to a positive user experience, enhancing the joy of ownership.
💨 Inflation Reminder: Highlighting recommended tire pressure ensures users are informed about maintaining proper tire performance for safe riding.


